[wp_ad_camp_2]
In this project, you will be creating an experiment to show not just how a tsunami works, but also the benefits of a natural bio-shield to aid in the safety of towns and cities that are prone to tsunami hits.
Some facts that will help you with your presentation:
The word tsunami means “harbor wave”. The word “tsu” meaning harbor and “nami” meaning wave.
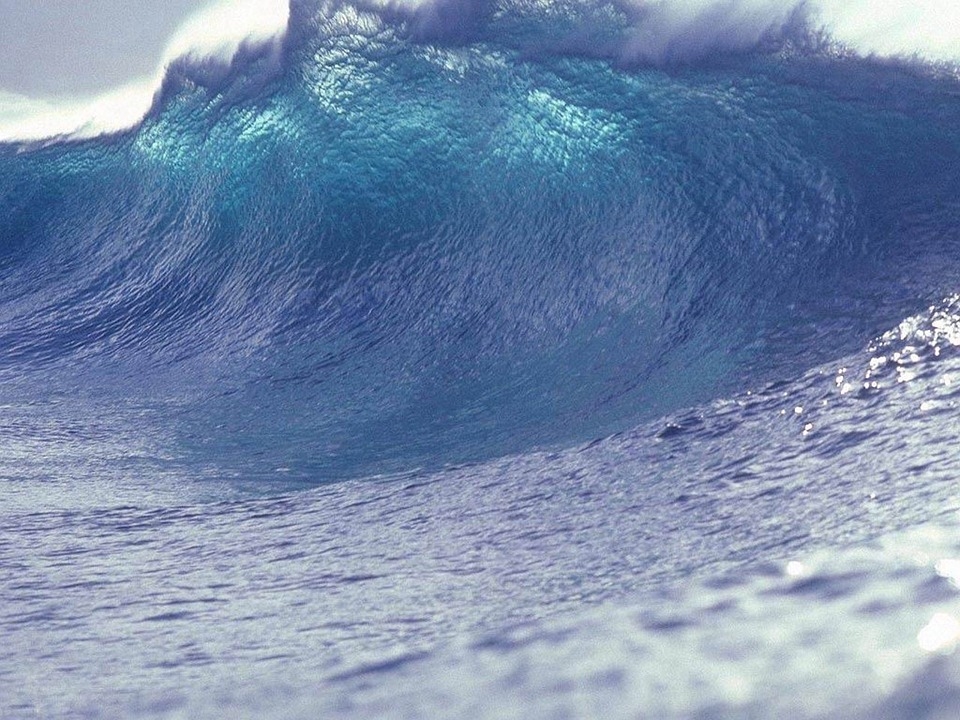
A tsunami is a huge wave of water that is usually caused by an earthquake or volcanic eruption under the water. Far out into the ocean, this shift or change will occur and cause the water to rise or fall. Directly above this shift the water may only rise a single foot, but when the wave starts to roll forward it builds. When it reaches more shallow water; that’s when the wave begins to grow in height and danger.
An earthquake off of Indonesia began in the Indian Ocean and in December of 2004, caused a tsunami that killed over 200,000 people. The massive wave struck 14 different countries.
The Tohoku earthquake in March of 2011 took place off the coast of Japan and caused a tsunami that killed around 15,000 people. This particular wave reached over 131 feet in some places and wiped out many towns and even caused nuclear accidents!

Now that you know what a tsunami can do and how it’s formed, let’s move on to the fun part!
What you’ll need for your experiment:
– 1 container long enough to suit the experiment. (In this experiment, we used a 90-quart tote. The length of this plastic crate was long enough to accommodate a decent wave build up.)
– 1 Sunday newspaper
– Mud (In this experiment we found a decent amount of mud and clay mixture outside. The clay in the mud helped allow us to sculpt the land area much more easily.
– Sand (In this experiment we used two different colors of sand. 1 bag of green and 1 bag of blue.)
– Water (1.5 to 2 gallons of water)
– Houses (houses can be made of popsicle sticks or anything that you’d like.)
– chicken wire or animal pen wire (You will need this to build your bio-shield)
– Plants and rocks (You can use real plants or plastic ones for fish tanks)
– 1 wide Tupperware lid or thin board in order to push the wave toward your land
Creating your Tsunami Simulator
Step 1 – The first thing that you need to do is to take sheets of your newspaper and ball them up. This will be the base and lift for your land. Use a level of newspaper to cover about 1/4 of the container at one end. Once you have placed a level of balled up newspaper inside your container you can begin putting the mud or mud/clay over the newspaper. Sculpt your land and slope it down to the bottom of the container.
Step 2 – Once your land is sculpted and sloped you should add your blue sand. This blue sand symbolizes the beach and the area where the water meets the beach. It should cover the downward slope of your land build.
Step 3 – Once you have your sand in place, you can begin adding little touches of a real village. Add your houses and get creative by adding people, cars, stop signs or anything else that will help people visualize the destruction of your tsunami!
Step 4 – Now it’s time to add your “ocean”. Pour your water into the container. Add just enough so that your water goes half way up the “beach”. Some of your sand will mix with your water, but it’s an ocean so that’s ok!
Step 5 – It’s now time to simulate your first tsunami. This simulation will show the destruction that takes place when a tsunami hits without a bio-shield or anything to stop it. Start at the far end of the container where there is only water. Place your “paddle” in the water. It should be big enough to push the water forward towards the land. If it’s too small, you will lose water force and you will not gain the desired effect.
As you can see, before we were halfway to the “beach” the tsunami simulation project wave had already leveled the village!
Step 6 – If your sand has washed into the water, gently push it back up onto the beach with your hand once the water settles.
Step 7 – Now it’s time to sit down and put together your bio-shield. Have a parent cut a piece of chicken wire just big enough to fit the “beach”. Once you have your wire cut, you can begin sticking pieces of your plants through the holes in the wire. In this demonstration, we used a piece of pen wire because the plants that we had to work with were small and thin.
Step 8 – You can now use your green sand. Place some of your green sand half way on the mud part and half way down the blue of your “beach”. Now place your bio-shield over the green portion and use your rocks to hold it in place. You can also opt to spread green sand over any mesh wire that is still showing. Set your houses back in place as well as the rest of your village.
Now that your shield is in place you can proceed with the final step of testing your bio-shield to see how effective such a safeguard can really be.
We made 3 waves toward the “beach” in an effort to get the You need to set the DNS to that in the page I sent. We made multiple waves in order to get our tsunami simulation project wave to destroy the village. In the end, all that we succeeded in doing was causing minor flooding and the only thing that was knocked over was the small traffic cone! This organic shield can help in keeping the worst of a tsunami from what it’s protecting. Of course, the tsunami simulation project wave size and the bio-shield size will vary and if the shield isn’t good enough then it won’t help on a massive level. However, any shield is probably better than no shield at all!
Have fun with your tsunami simulator!
… And if you are looking for video evidence on just how destructive Tsunami waves can be, these will certainly help:
Reviewed by Robbi


