
[wp_ad_camp_2]
Electricity For Kids And Grownups Alike!
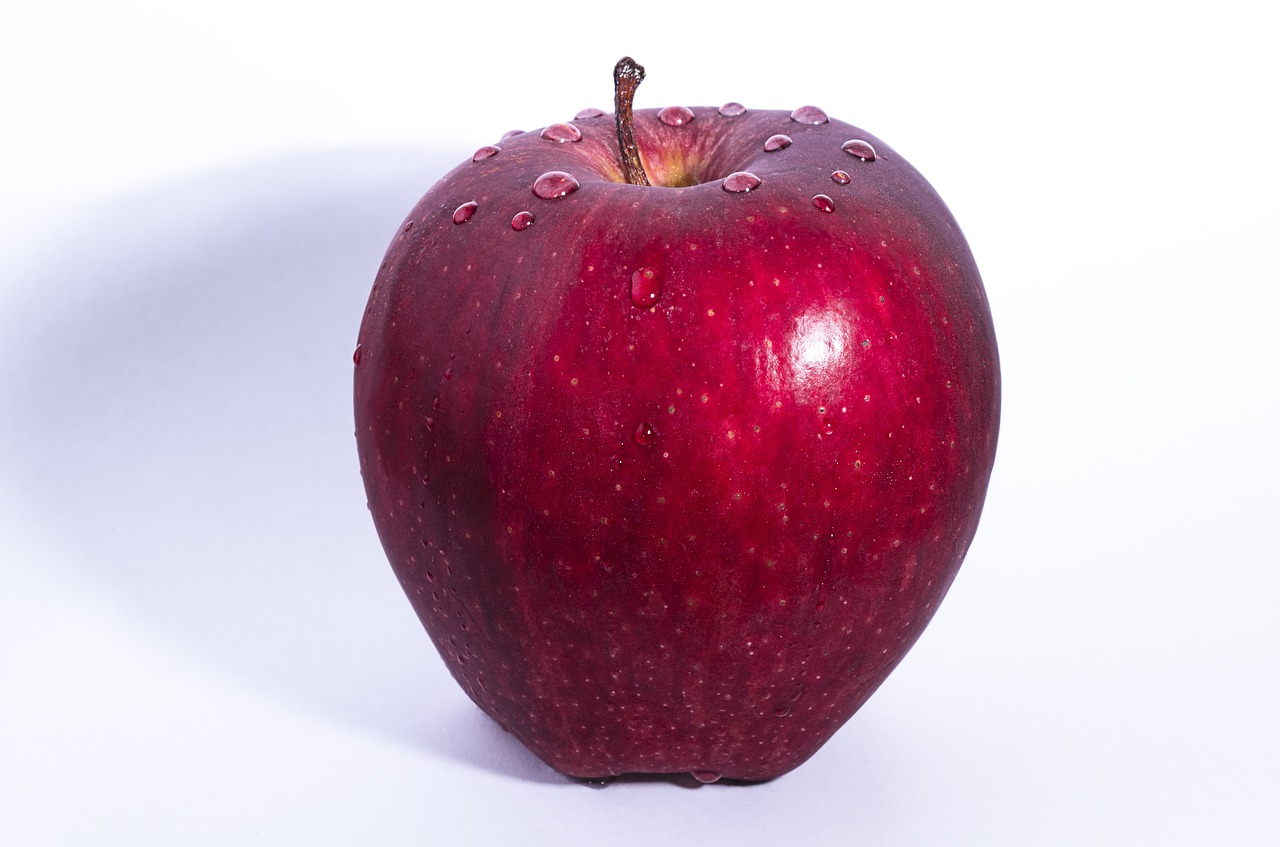
The apple battery project is a second in a series of three fruit battery science projects for kids included on this site. It is an extension of the classic lemon battery project, and is also inexpensive, easy to set up and fairly easy to perform. In fact, with the firmness of the apple, it is easier to insert the terminals without having them touch.
If you look at the supplies photo below, you’ll see it is the same as the lemon battery project, except that we use an apple. For the same reasons noted in that experiment, a fruit battery isn’t powerful enough to light a bulb, so a voltmeter is needed to see what happens. As such, this is also listed this as a 5th grade science project, assuming it is performed by itself. However, if it is combined with the turning on a light bulb experiment, the student will better understand how meter movement relates to a bulb lighting up. If that is done, this can be used in electricity experiments, or elementary science projects from about the first grade on.
Time to Create an Apple Battery … Enjoy!
Objective
An apple battery only takes an apple, two nails and a piece of wire to demonstrate the concept. It’s a fun science project that helps show the way things work in a battery by using stuff we see around the house.
As with the lemon battery, we’ll learn a little more about electricity, and probably a few new science terms along the way. This is designed to be performed on its own, but if you elect to do the “Light Bulb” experiment at the same time, it will help connect what’s going on with the voltmeter reading to lighting the light bulb itself.

Materials
– 1 apple
– About 4 in. wire with insulation removed, #12 or #18 works just fine
– 1 steel nail, #6 or 8 works great
– 1 zinc plated nail, #6 or 8 is good
– Small piece of sand paper
– Knife or wire pliers to remove insulation (not shown)
– A voltmeter that can read tenths of a volt
Preparation
The only preparation an apple battery project requires is to gather the materials, strip off the wire insulation and clean the ends of the nails and wire with the sand paper. (Gently on the zinc nail).
Since the lemon battery and apple battery share the same project steps, concepts and “how it works” explanation, I will not try to repeat it all here. Please refer to the lemon battery experiment if more details are needed on how to conduct the lab. Only a summary of the steps required follows here.
Project Day
Split into groups as materials allow. If you are performing the light bulb project, demonstrate how the battery makes the flashlight bulb come on. Show them how the meter moves by touching the meter leads on the battery cell. Let them know if we can make the meter move using an apple instead of a battery, then the apple must be acting like a ‘real’ battery as well.
Choose any combination of nail and wire to start the experiment. These are the terminals for our battery. Insert the ends of the terminals into the apple a little over an inch deep. Get them as close as you can without touching each other. (If they touch, the battery will be ‘shorted’ and no voltage difference will show on the meter. If that happens, just pick a new spot on the apple and try again).
Select a DC setting on the voltmeter. Test it against an actual battery if you have one to make sure the meter is working properly. Swap the leads if you see a minus sign in the display, or take a minute to discuss polarity, and what the meter is telling you about which terminal is the cathode (+) and which is the anode (-). Using the meter on an actual battery (that has the + and – signs stamped on it) will provide the answer for them on this one.

Touch one of the meter leads to each of the terminals you inserted in the apple battery (steel and copper is shown here). Note the reading. Also note that the readings may vary from setup to setup, and from trial to trial. There are quite a few things going on that we cannot control, but the important point is that we do get a voltage reading.
Shift to another terminal combination. Zinc and steel are shown to the right. Again, note the voltage. Higher? Lower?
Try the final terminal set. As in the lemon battery project, you should see why zinc and copper make good terminals.
Show that if you hold the meter leads apart, touch them together, or even stick them directly in the apple themselves, nothing happens. The two dissimilar metals we used as battery terminals are needed, and they must be in the apple for the process to work. Otherwise we have no meter deflection and no apple battery.
Tell the group that the same thing causing the meter to move is what lights the bulb in a flashlight.
What just happened?
For the teacher – please see the lemon battery experiment for a complete explanation of what’s happening in the apple battery. The process and the concepts are identical. Additional information is also discussed in the Electricity Science Projects related to Charge section.
For the students – as long as we choose the right metals for our terminals, we can turn the apple into a battery.
Summarize by telling the group – the apple battery voltage is too small to light a bulb, but it is the same process that happens in a battery you buy at the store.
… And as in the other fruit battery projects, if you just need something you can pull off the shelf and do, these can sure help with that:


What else can be made into a battery? Find out here: https://how-things-work-science-projects.com/coin-battery-project/
1 thought on “Apple Battery Project”